Spray Skirt Repair 101
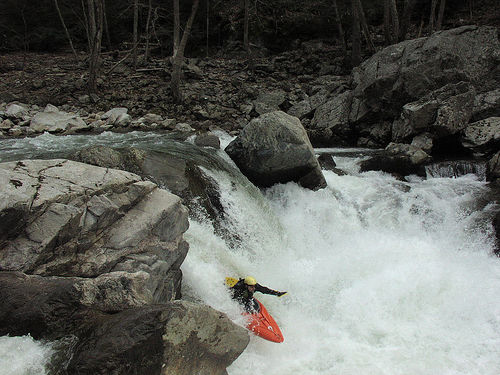
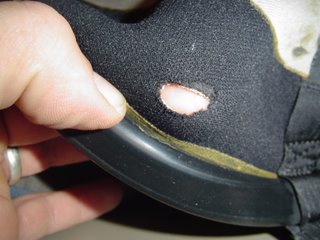
The torn or punctured spray skirt. Every paddler, from Hole Rat to Creek Freak, will have to deal with this one sooner or later.
 No worries!
Start by cleaning and air drying your skirt.
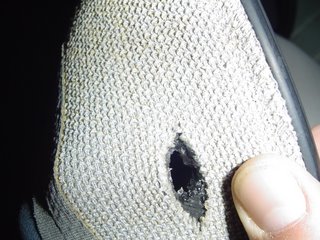
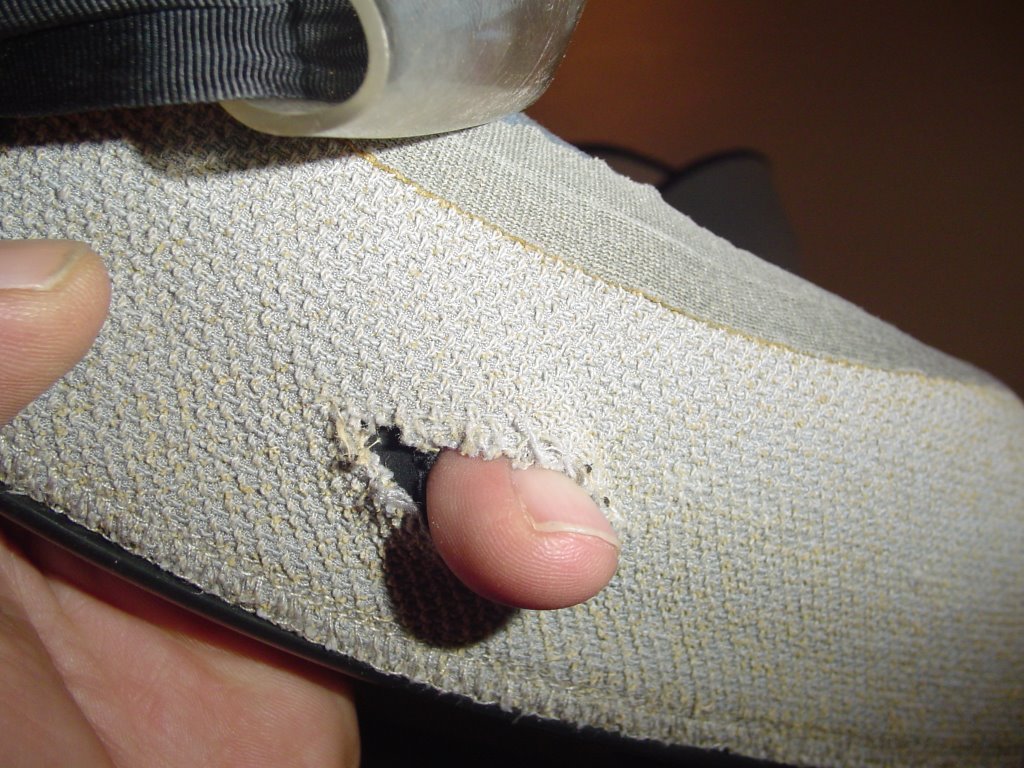
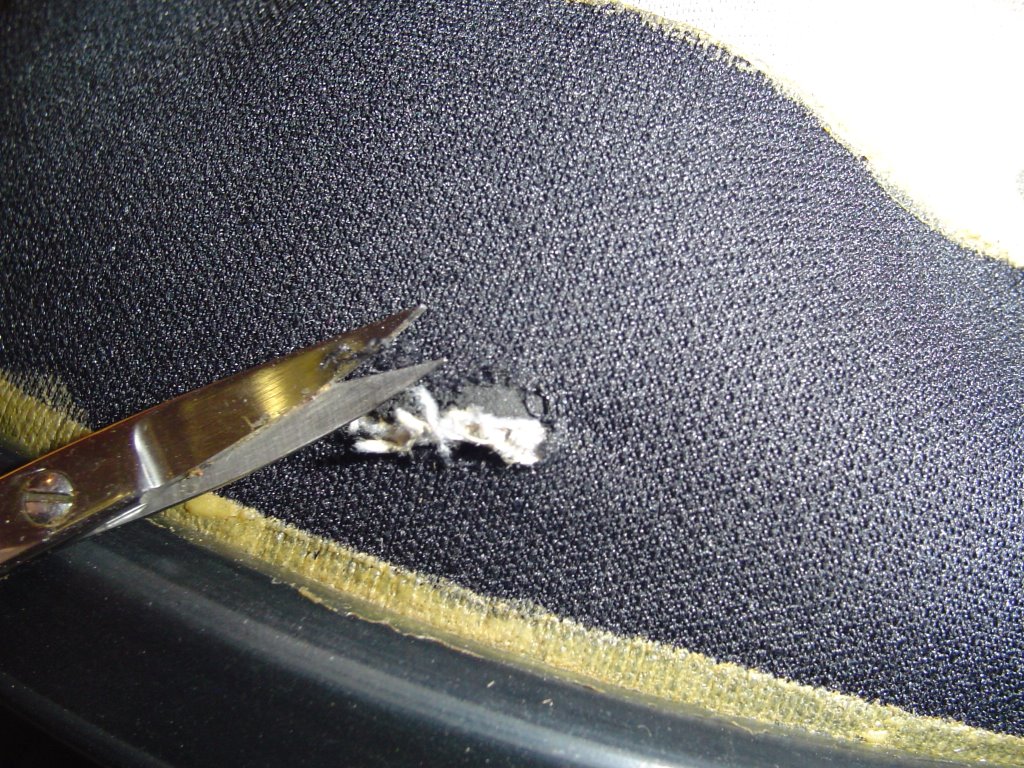
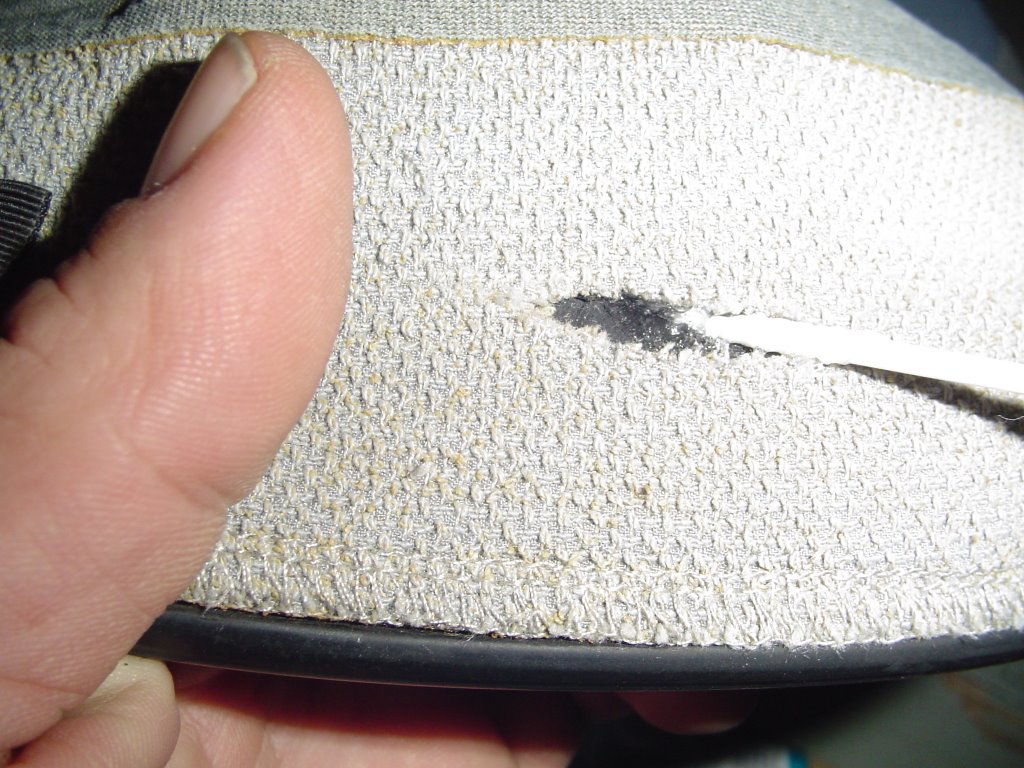
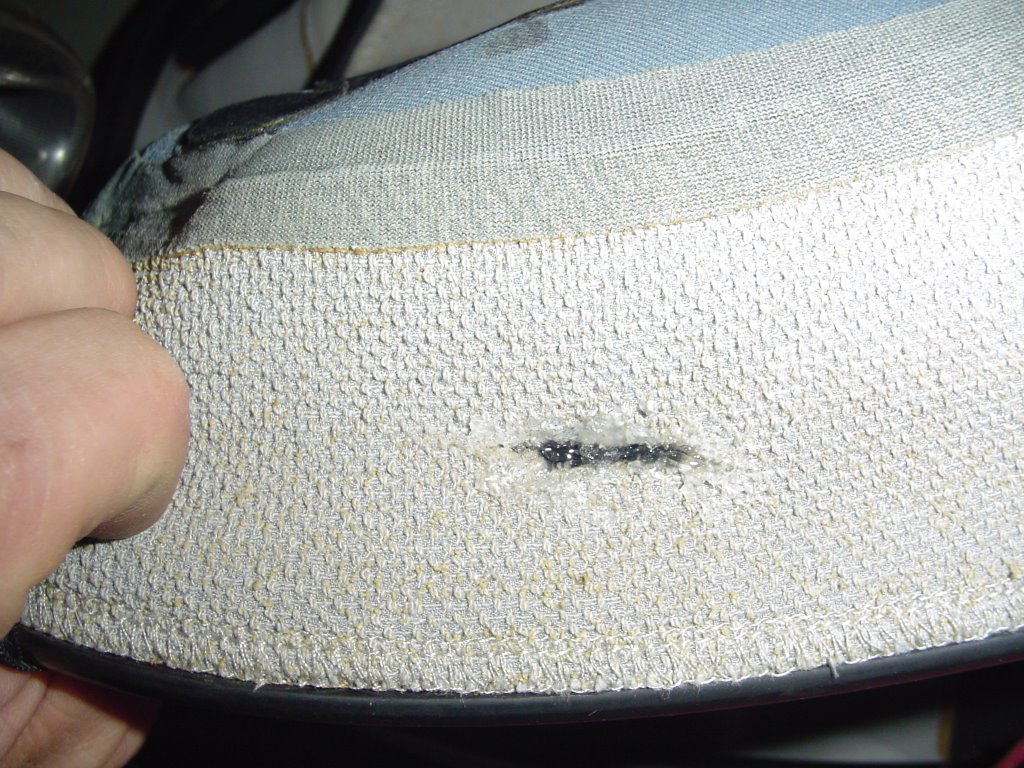
Then trim away all of the loose fibers from around the puncture.
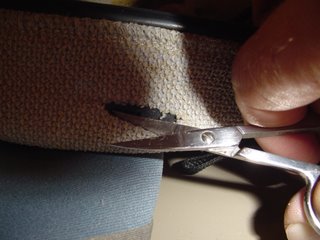

Make certain that you do both sides.

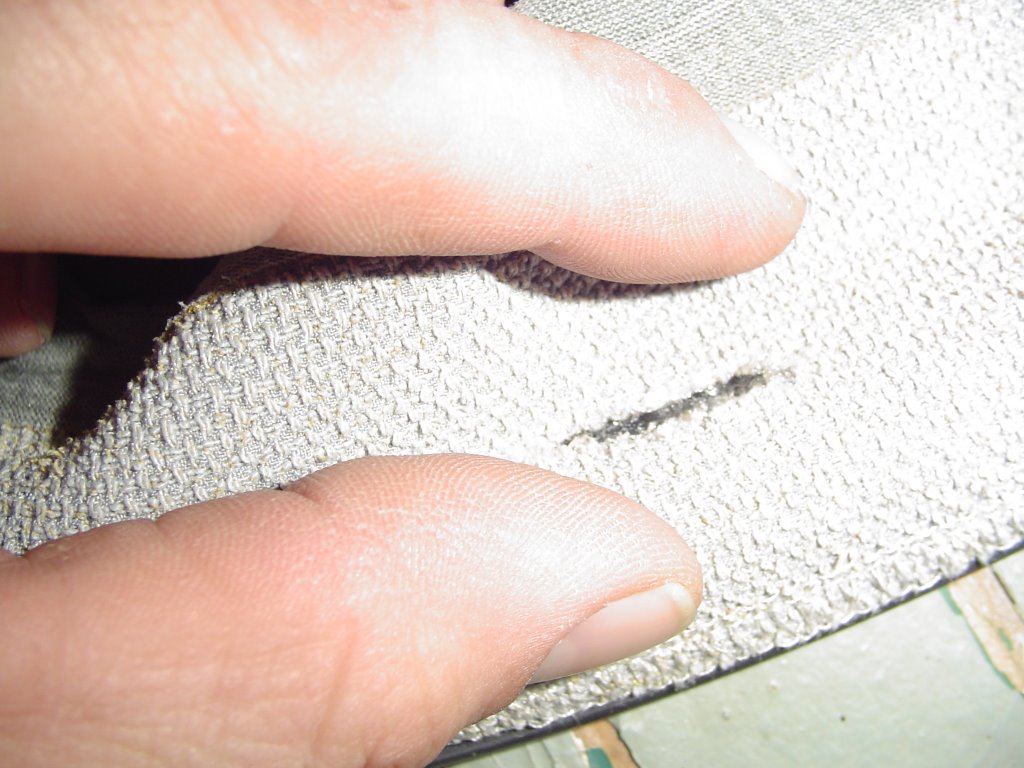
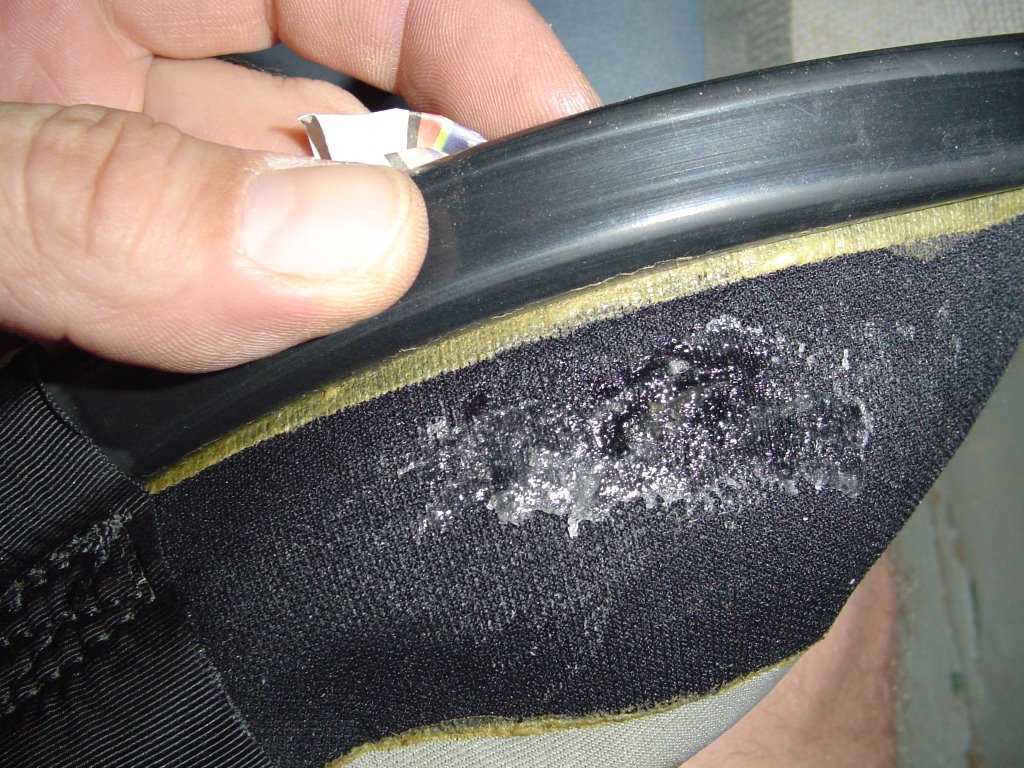
When you've finished that, get your adhesive (I prefer Aqua Seal) and apply some to both edges from both sides of the tear.
 Hold the edges apart until the Aqua Seal begins to get tacky, then press the edges firmly together.

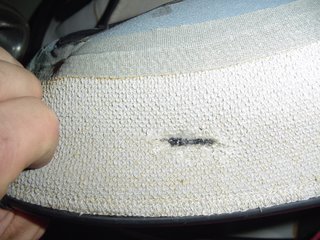
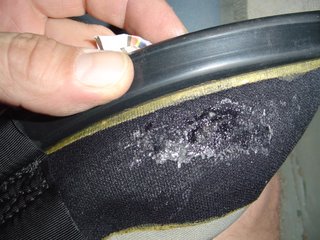
When the two pieces have bonded together, apply more Aqua Seal to the backside of the repair. Smooth the adhesive out to help insure a clean seal around the cockpit rim.
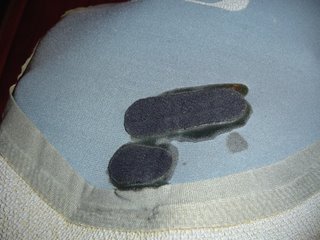
You can take some 4-way stretch fabric and make a patch to go over top of the repair for a pro finish. (I don't usually use a patch on top of kevlar)
Don't toss that old spray skirt, fix it!
Peace,
JAH WILL
 No worries!
Start by cleaning and air drying your skirt.
Then trim away all of the loose fibers from around the puncture.

Make certain that you do both sides.


When you've finished that, get your adhesive (I prefer Aqua Seal) and apply some to both edges from both sides of the tear.
 Hold the edges apart until the Aqua Seal begins to get tacky, then press the edges firmly together.
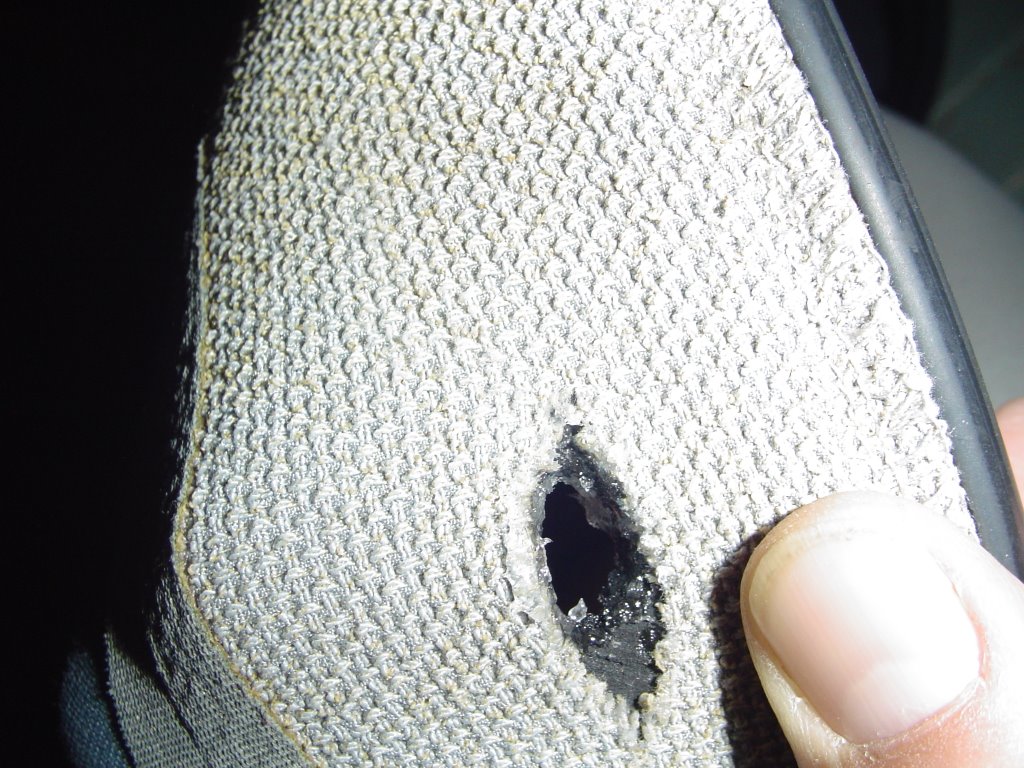
When the two pieces have bonded together, apply more Aqua Seal to the backside of the repair. Smooth the adhesive out to help insure a clean seal around the cockpit rim.

You can take some 4-way stretch fabric and make a patch to go over top of the repair for a pro finish. (I don't usually use a patch on top of kevlar)
Don't toss that old spray skirt, fix it!
Peace,
JAH WILL
posted by JAH WILL at 12:36 AM
3 comments
![]()
![]()


